Sub-Total: $0.00
We get a lot of people asking us if there’s anything they need to do differently with their van in the winter, and the answer is yes- there most definitely are! Our van experts at TOURIG have shared some important tips and useful information to help you take care of your van properly through the winter.
We get a lot of people asking us if there’s anything they need to do differently with their van in the winter and the answer is yes- there most definitely are! Our van experts at TOURIG have shared some important tips and useful information to help you take care of your van properly through the winter.
Whether you plan on storing your rig for the winter season or using it year round, it’s important to “winterize” your van, or prepare it for colder temperatures that can cause damage to your vehicle’s systems. As the temperature starts to drop in the Fall, it’s time to think about preparing your van for the winter season. Read on to learn when and how you need to winterize your van and then follow the steps below and in just a few hours you can properly prepare your Sprinter or Transit van for winter.
When do I need to winterize my van?
The time to winterize your vehicle will depend on where you live. Any time the temperature drops below 40 degrees fahrenheit your fittings (faucet, shower sprayer, water filters, well water strainers, water pump prefilter, water pump and other ends of the lines can freeze). In many regions like here in Colorado, it’s safe to say that you should winterize your van from Labor Day to Memorial Day. (The last thing you want is to leave it sitting for a week and come home to find out the weather’s dropped and freezing occurred).

Why do I need to winterize my van?
The most important reason to winterize your van is to prevent any parts and components from freezing. This can cause broken lines, loose fittings/connections, filters and other damage to the water system in your van.
STEPS TO WINTERIZE YOUR VAN
Step 1. Drain Your Water Tank

The first step of the process to blowing out the system is to drain your water tank. Open up the valve underneath the tank and let gravity drain the water out of your tank. Depending on how much water is in your tank, this could take up to 30 minutes (if your tank is full).
Step 2: Close the Tank Valve
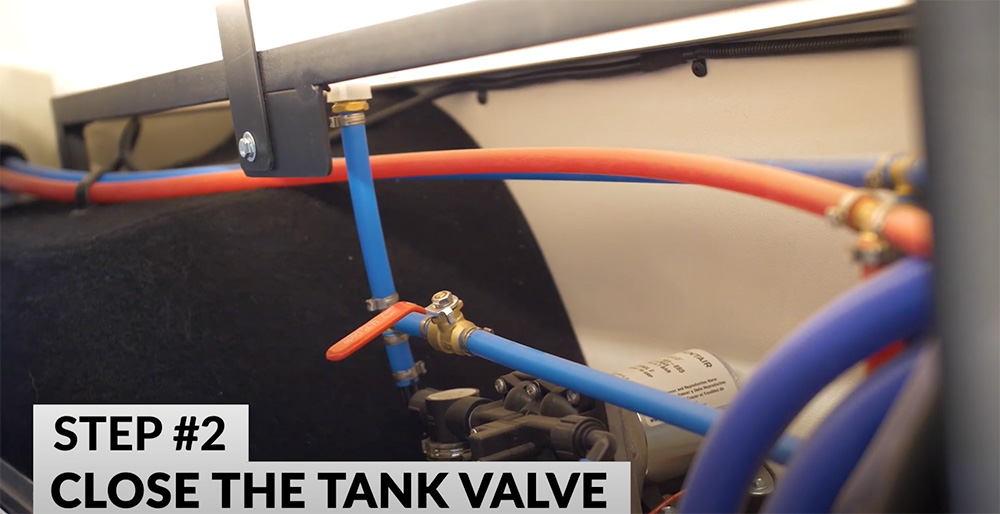
The next thing you want to do is close the tank valve and before you try to pump the system out or blow out the system you have to make sure only one valve is open at a time.
Step 3: Empty the Water Pump
![]()
The next thing you’re going to do is run the water pump dry. Open up a faucet, turn on the water pump, and pump the water system until it’s spitting air.
Step 4: Remove the Water Filter

Once you’re done with that, you’re going to remove the water filter that TOURIG puts in your van and replace it with the white replacement hose that bypasses the filter.
Tip: Water filters are also best to replace in the Fall. If you take out the water filter you have to leave it submerged in water or else it will grow mold (which you can’t see). So the best thing to do is just remove it at the end of the season and replace it in the Spring.
Step 5: Drain the Water Strainer
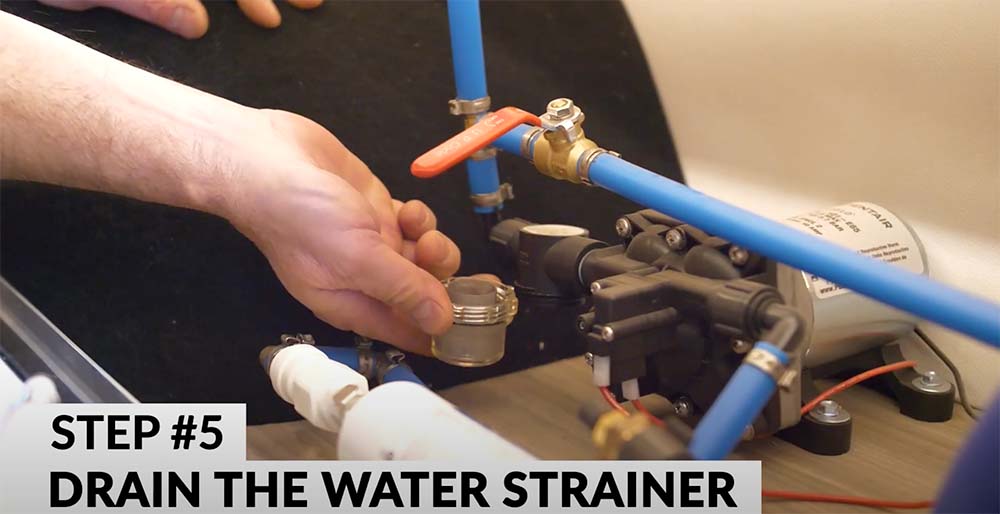
After you’ve emptied the water pump you’re going to drain and empty the raw water strainer on the inside of your water pump (this will definitely freeze if that traps water so you want to get that emptied out).
Step 6: Set Compressor to 50 PSI
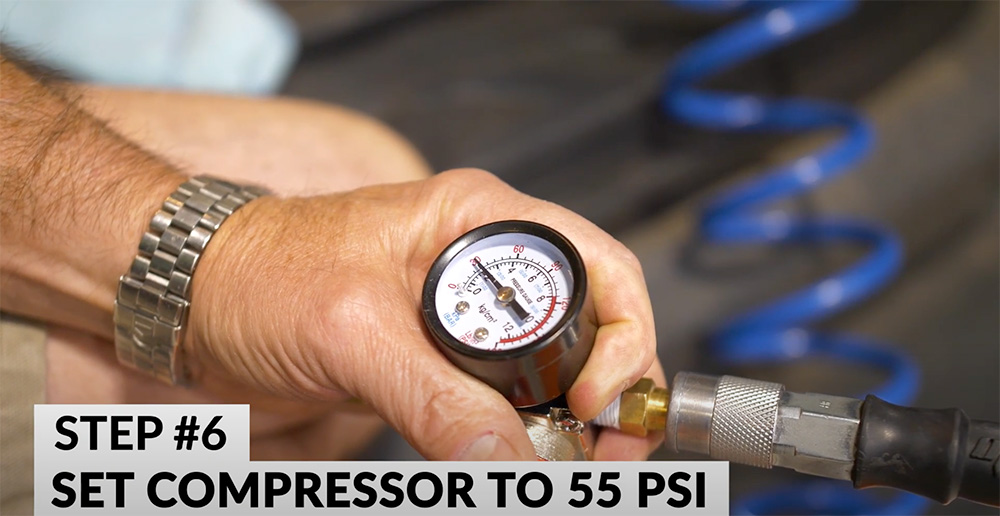
Now you’re going to set up and put a compressor line onto the Schrader valve. 50 PSI is what’s recommended for maximum pressure for blowing out the system. You can actually even blow out the system with a bike pump. Just remember: keep a low pressure so you don’t damage any of the fittings.
Step 7: Open Valves (x2)
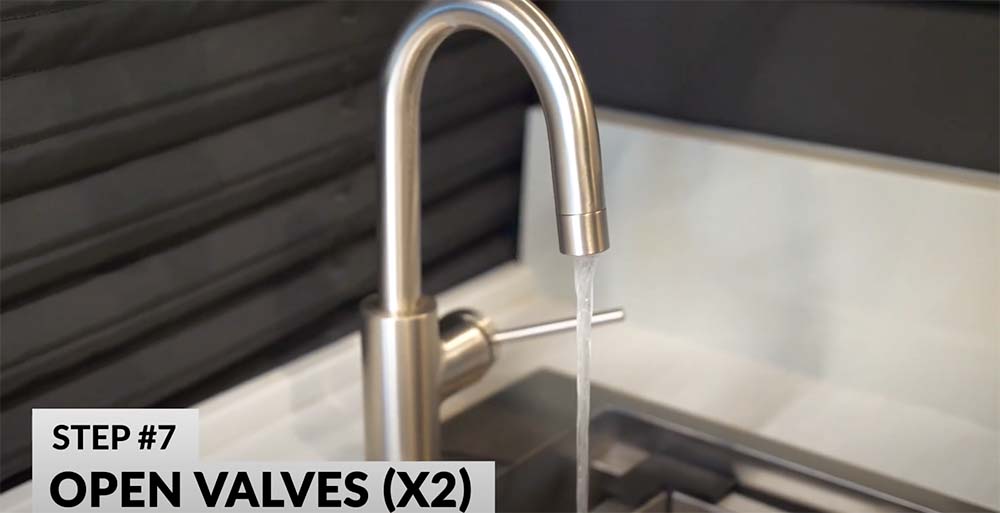
You want to do the hot and cold side of each one of the faucets or shower fittings or toilet. By doing that you want to do one part at a time so let’s say the sink, faucet, hot water cold water, rear of the van, hot water, cold water, shower toilet then repeat that step twice so you go through every step two times. So it’ll start out with water coming out, then turn to a mist, then finally fine mist. When you’re done with that process leave the valves from the tank open.
Step 8: Open AquaHot Valve
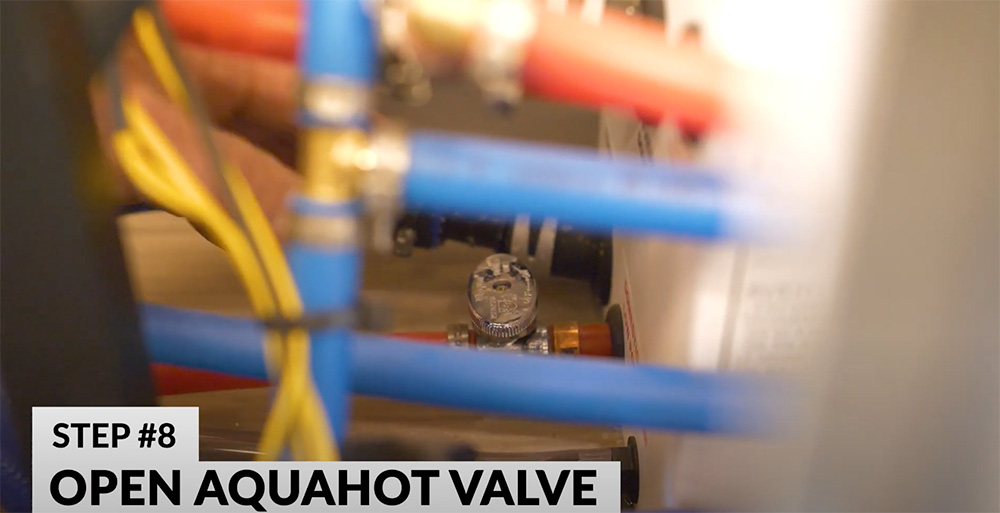
There’s a valve on the AquaHot that you want to leave open during winter storage so that no water gets trapped in your AquaHot hydronic heating system.
Step 9: Leave All Faucets Open
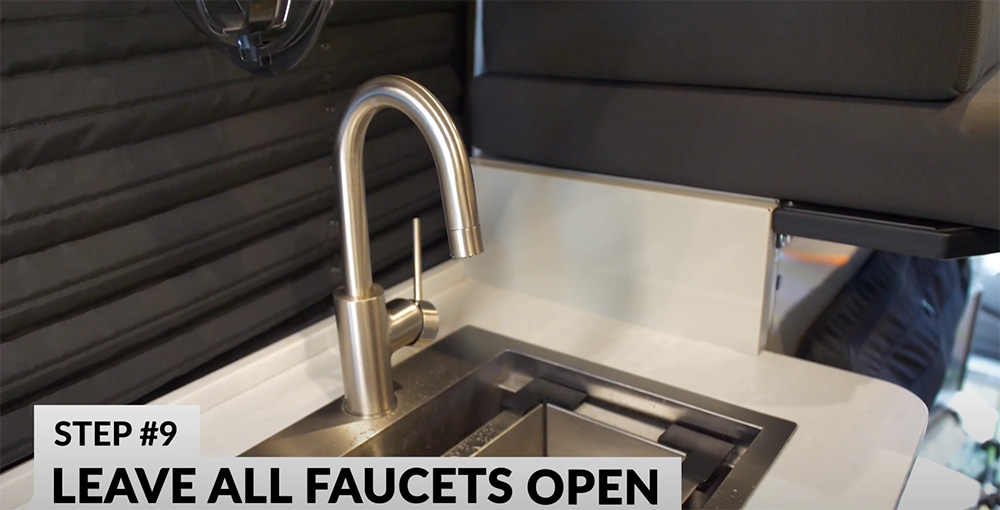
You want to leave all faucets open (including drain valves) so that there’s room for water to expand.
Step 10: Empty All Hoses and Toilet
![]()
Finally, you want to make sure you empty any hoses for sprayout- get the water out of those. Get water out of any portable or cassette toilets. And empty any gray water tanks. You can add marine antifreeze to any gray water tank because that’s underneath the van or in your cassette toilet.
That’s the process of blowing out your water system to winterize your Sprinter or Transit van.
As a reminder, if you’re planning on storing your van for the winter, it’s important to blow it out before it’s stored for the winter. If you do plan on using your van throughout the winter, it’s important to blow it out every time after it’s used. Keep this checklist on hand so you can easily run through all the proper steps to winterize your vehicle, whether you intend on winterizing it once and then storing it for the season or winterizing it for use throughout the colder months.